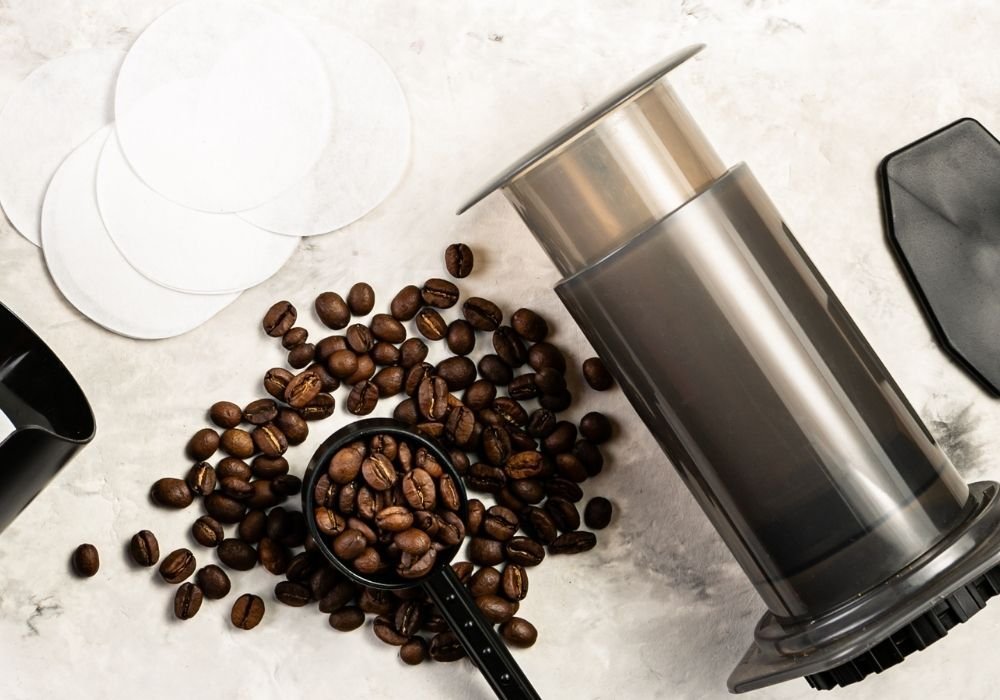
Choosing the Right Roast
The type of roast you pick for your AeroPress can make a world of difference. Here’s the lowdown:
Light Roasts retain the bean’s original characteristics and have a higher acidity.
Medium Roasts offer a balance with a smoother body and are often preferred for AeroPress.
Dark Roasts have a bolder, fuller flavour, with less caffeine.
For a solid AeroPress cup, I’d say go for a medium roast.
Understanding Coffee Grind Sizes
Getting the grind size right is crucial; it’s like the secret ingredient in our recipe.
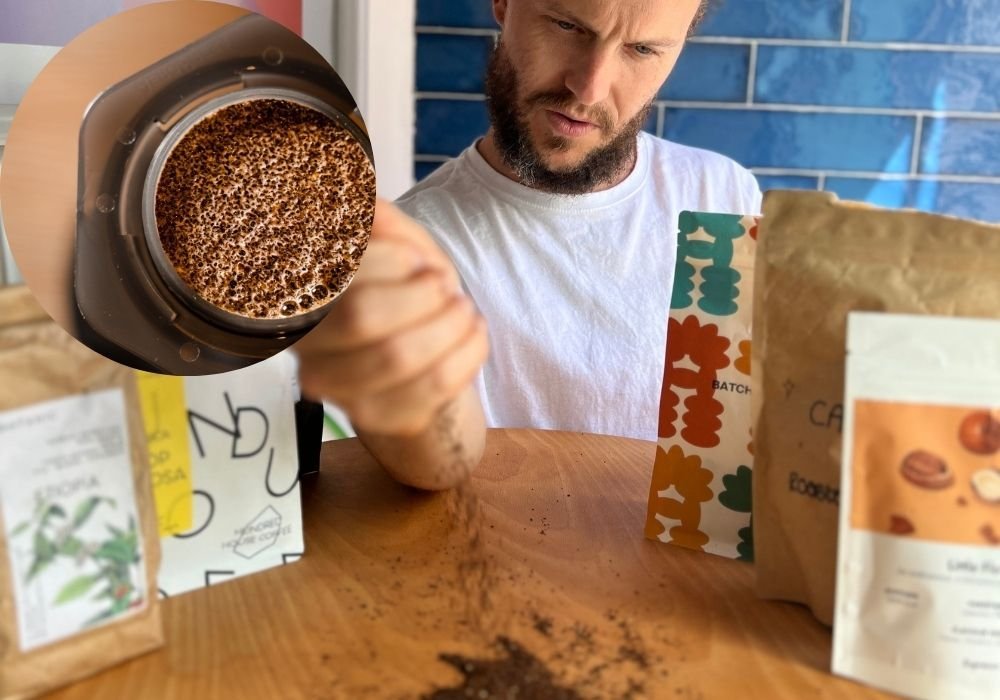
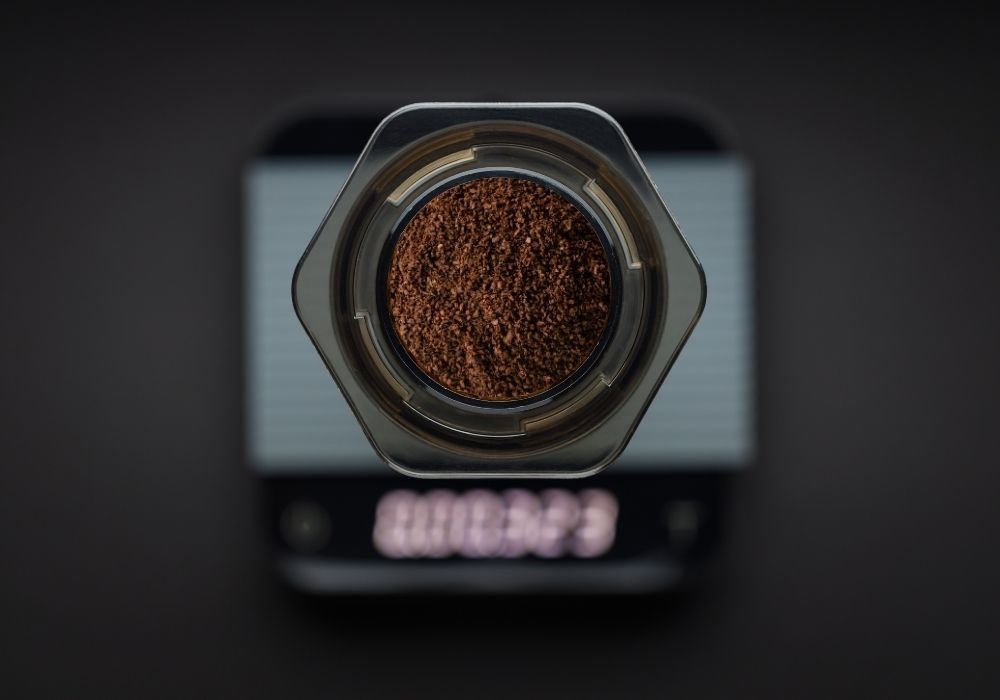
For the AeroPress, I tend to lean towards a medium-fine grind, as it offers a balance between flavour extraction and brewing time.
You’ll need a decent Aeropress grinder to get your beans just right.
If you’re grinding coffee at home, aim for something a tad finer than what you might use for a pour-over, but not as powdery as you’d want for an espresso. Trust me, it’ll make all the difference.
Techniques, Tips and Tricks
Exploring advanced techniques and hacks is essential for any AeroPress enthusiast looking to refine their brewing skills. Whether it’s tweaking recipes to suit personal tastes or discovering new uses for the AeroPress, there’s always something new to try.
Experimenting with Recipes
I’ve found that diving into various Aeropress recipes can significantly change the taste of my coffee.
For example, altering the coffee-to-water ratio of Aeropress can lead to a more robust or milder brew, depending on what I’m in the mood for.
This method from The Coffee Chronicler using 26 grams of coffee to 400 grams of water, gave me a richer, more intense flavour profile. However, my personal preference tends to swing towards lighter notes, so sometimes I’ll use a bit less coffee.
Experimenting doesn’t stop at ratios; temperature plays a crucial role too. The cooler the water, the smoother and more floral my coffee tends to be.
The Brewing Process
When I brew with an AeroPress, I focus on precision and consistency. Each step, from grinding the coffee to plunging, can greatly affect the final cup.
Setting Up the AeroPress
I start by assembling my AeroPress. A paper filter is placed inside the filter cap, which is then attached to the brewing chamber. I position the chamber securely over a sturdy mug or cup. Making sure to add the coffee grounds without spilling any on the seal is crucial for a good brew.
The Brewing Method Spectrum
Depending on my mood, I might choose between the standard or inverted method. The standard method involves placing the AeroPress directly over the cup, while for the inverted method, I flip the AeroPress upside down, which changes the contact time between water and coffee.
Water Temperature and Brew Time
The key to extracting maximum flavour is getting the water temperature and brew time right. I aim for water heated to about 86-93°C, and I usually stick to a brew time of 1 to 2 minutes. I use a timer to ensure I don’t over-extract the coffee.
Final Touches and Plunging
After stirring the coffee slurry, I insert the plunger and apply gentle but steady pressure. The moment there’s a hissing sound, which signals the end of the brewing, it’s time to stop plunging. Then, it’s ready to serve.
Using these techniques, I ensure a delightful AeroPress brew every time.
Frequently Asked Questions
When brewing with my AeroPress, I’ve come across some common questions that I reckon might be on your mind too. These include the ideal coffee-to-water ratio, steep time, maximum capacity, and grind size for that perfect cup.
What’s the ideal coffee to water ratio for an AeroPress?
For an AeroPress, I find that a 1:15 coffee-to-water ratio works a treat. This means for every 1 gram of coffee, you’ll want to use 15 millilitres of water. This Aeropress ratio can be tweaked to suit your taste, but it’s a solid starting point for a balanced brew.
How long should I let my brew steep in the AeroPress?
I let my ground coffee steep for about 1 to 2 minutes in the AeroPress. However, if you fancy a stronger cuppa, you can extend the steep time up to 3 minutes.
Is there a maximum amount of coffee the AeroPress can produce at once?
Aye, there is. My AeroPress can choke out about 250 millilitres of coffee in one go, which is about the same as a regular mug. Pushing it beyond that could make a bit of a mess and affect the quality of your brew.
What grind size works best in an AeroPress?
A medium-fine grind size has never steered me wrong in an AeroPress. It’s coarse enough to allow a smooth plunge and fine enough to extract all the goodness from the coffee beans, without letting the water rush through too quickly.

